Table of Contents
📝About
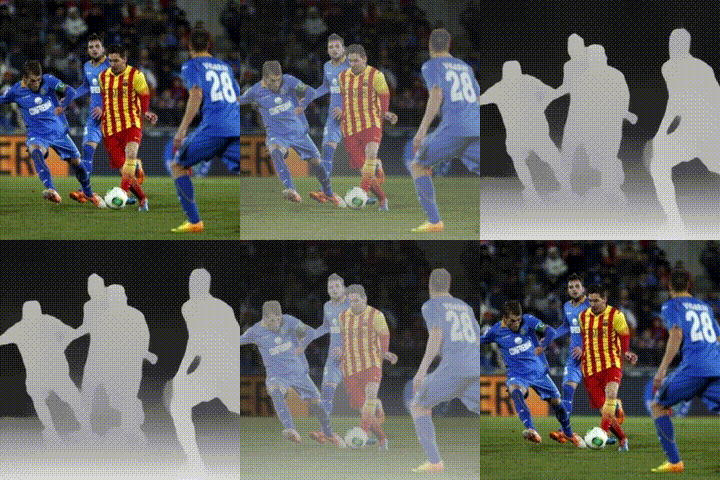
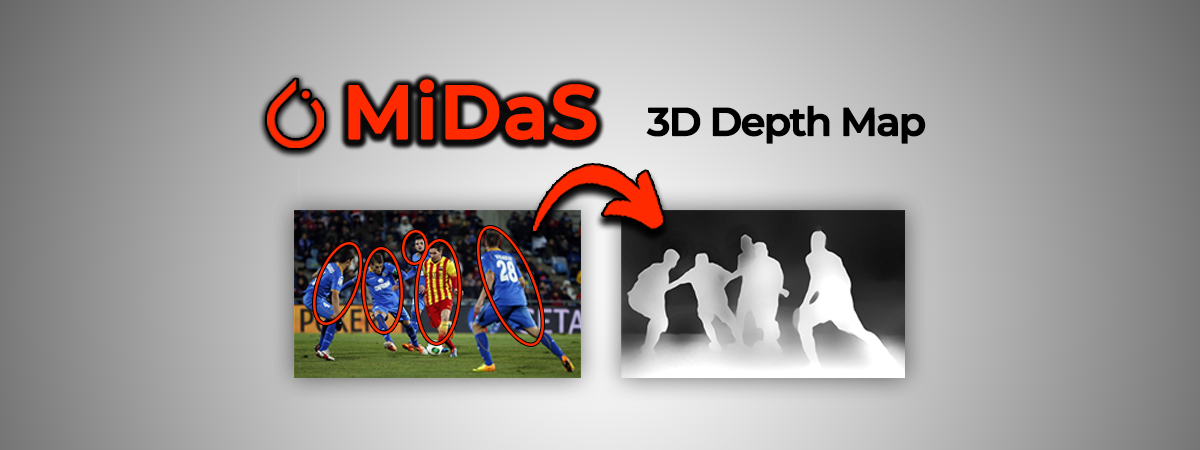
Using PyTorch's MiDaS model and Open3D's point cloud to map a scene in 3D.
Overview
- Trained small variant of MiDaS model on 93K images (batch size 16, NVIDIA GeForce RTX 2060 GPU) to map any scene in 3D using depth estimation.
- Project loads model based on specified accuracy level and input image(s); applies color maps and other image transformations; outputs depth data.
- Finally generates 3D points via Open 3D, rendering a point cloud to visualize spatial relationships within image/scene.
main.py
- Entry point
- Integrates the below 3 functionalities
depth_estimation
- Core logic for depth estimation (
depth_estimation/depthmap.py) DepthMapperclass responsible for setting up and utilizing a depth estimation model.- Loads a pre-trained model (MiDaS model variants) based on the specified accuracy level, performs image transformations, and estimates the depth map from an input image.
imaging
- Handles image processing tasks (
image_processing/image_process.py) ImageProcessorclass loads, validates, and manipulates image data.- It includes functionalities such as loading images from disk, applying color maps, and displaying images.
- This class is utilized to handle the input and output images in the depth mapping process.
point_cloud
- Renders point clouds from the depth data generated by the depth mapping process (
point_cloud/cloudrender.py). CloudRendererclass in processes the depth data to generate 3D points and renders them as a point cloud or voxel grid.- This visualization helps in understanding the spatial relationships in the scene represented by the depth map.
💻 How to build
Requirements
pip install -r requirements.txt
Deploy
When running the model on a chosen image, swap out the PHOTO placeholder with the complete file path and extension of the target image. For the --accuracy_level setting, select an integer from 1 to 3 (where 1 delivers the quickest inference speed but with less accuracy, and 3 ensures the highest accuracy, albeit with a slower inference speed).
python3 main.py --accuracy_level [1|2|3] --input_img PHOTO
🔧Tools Used

-EE4C2C?style=for-the-badge&logoColor=white&color=00b5ff)


